Expert Tricks for Professional Wallpaper Removal at Home
Introduction
Removing wallpaper can be a daunting task, but with the right techniques, it becomes much easier. Whether you’re updating your home décor or preparing walls for a fresh coat of paint, knowing professional methods ensures a smooth and damage-free process. Unlike rushed DIY attempts, expert removal techniques minimize wall damage and save time. Before starting, gather essential tools such as a scraper, steamer, sponge, and protective gear. Understanding the type of wallpaper—peelable, strippable, or traditional—helps determine the best approach.
Using the correct methods prevents unnecessary frustration and wall repairs. Many homeowners struggle with stubborn adhesive or torn layers, but with the right solution, even the toughest wallpaper can be removed efficiently. This guide covers dry stripping, steaming, and homemade solutions for a hassle-free experience. By following these steps, you’ll achieve a clean surface ready for new decor. Let’s dive into the best techniques for flawless wallpaper removal.
Preparing for Wallpaper Removal

Before starting, protect your floors and furniture with drop cloths or plastic sheets. This prevents water damage and makes cleanup easier. Next, identify your wallpaper type—vinyl, textured, or traditional—by testing a small corner. If it peels off easily, it’s strippable; if not, you’ll need a solvent or steamer. Essential tools include a putty knife, spray bottle, and ladder for high sections. Proper prep ensures a smooth process without unexpected setbacks.
Dry Stripping Method

The dry stripping method works best for peelable wallpapers. Start by lifting a corner with a knife and gently pulling downward at a 45-degree angle. Avoid rushing, as this can tear the paper and leave residue. If the wallpaper resists, use a scoring tool to perforate the surface before applying a mixture of warm water and dish soap. Let it soak for 10 minutes, then scrape with a plastic tool to avoid gouging the wall. This technique is ideal for modern wallpapers with weak adhesion.
Using a Wallpaper Steamer

A steamer is highly effective for removing stubborn, non-porous wallpapers like vinyl or heavily layered paper. Begin by filling the steamer with water and allowing it to heat up. Hold the steaming plate against a small section for 15-30 seconds to loosen the adhesive. Use a putty knife to gently lift the softened wallpaper, working in manageable strips to avoid overheating the wall. Steaming is particularly useful for textured or older wallpapers that resist peeling. Always keep the steamer moving to prevent moisture damage to the drywall beneath.
Safety is crucial when using a steamer—wear gloves to protect your hands from heat and ensure proper ventilation to avoid excess humidity. Avoid pressing too hard with the scraper, as this can damage the plaster. For best results, work from the top down, allowing gravity to assist in the removal process. If the wallpaper has a protective coating, scoring it lightly before steaming helps the moisture penetrate better. This method requires patience but delivers professional-grade results without harsh chemicals.
The Soapy Water & Vinegar Solution

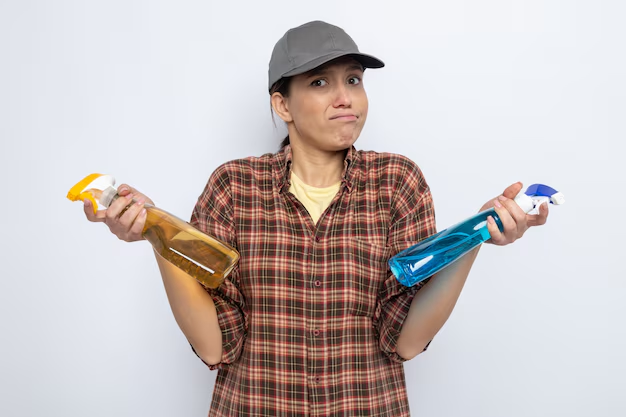
For an eco-friendly and budget-friendly solution, mix equal parts warm water and white vinegar with a few drops of dish soap. This homemade mixture breaks down wallpaper adhesive effectively. Apply it generously using a spray bottle or sponge, ensuring the paper is thoroughly saturated. Let it soak for 10-15 minutes—longer for thicker wallpaper. The vinegar’s acidity weakens the glue, while the soap helps lift residue. Reapply as needed for stubborn sections.
When scraping, use a wide plastic scraper to avoid gouging the wall. Work in small, overlapping strokes, reapplying the solution if the paper dries out. This method works best on standard wallpapers but may require multiple applications for durable vinyl types. For extra stubborn spots, adding a small amount of fabric softener to the solution can enhance adhesive breakdown. Once removed, wipe the walls with clean water to eliminate any leftover residue before priming.
Removing Stubborn Adhesive Residue

Even after wallpaper removal, glue residue often remains stuck to walls. To tackle this, create a powerful cleaning solution by mixing hot water with a few tablespoons of baking soda. Apply it with a sponge in circular motions to break down the sticky layer. For tougher buildup, use a commercial adhesive remover, following manufacturer instructions carefully. Avoid harsh scrubbing that could damage the drywall surface.
An alternative approach involves using a fabric softener and warm water mixture, which helps dissolve stubborn glue without harsh chemicals. Let it sit for 5 minutes before gently scraping with a plastic putty knife. Rinse the wall with clean water afterward to remove any film left behind. For final polishing, wipe the surface with a damp cloth and allow it to dry completely before making any repairs or applying new wallpaper.
Post-Removal Wall Preparation

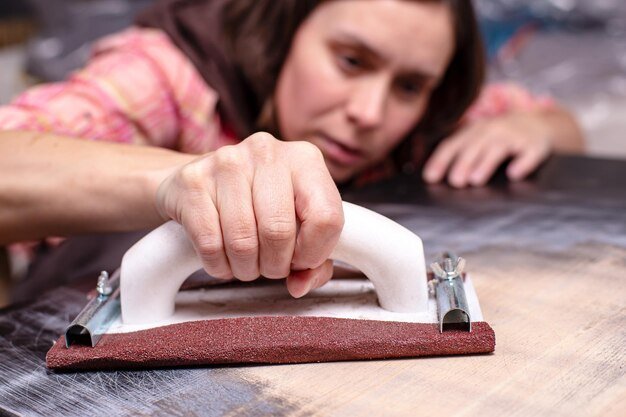
Once the wallpaper and adhesive are fully removed, inspect the walls for any damage like cracks, holes, or uneven textures. Use a lightweight spackle to fill imperfections, smoothing it with a putty knife for a flawless finish. Sand the repaired areas lightly with fine-grit sandpaper once dry to create a perfectly even surface.
Before painting or installing new wallpaper, apply a high-quality primer to seal the walls. This prevents moisture absorption and ensures better adhesion for your new wall covering. If you notice any lingering stains from old wallpaper, use a stain-blocking primer to prevent them from bleeding through. Proper prep at this stage guarantees professional-looking results that last for years.
Expert Tips for a Hassle-Free Experience

Timing is crucial when removing wallpaper – choose a dry day with moderate humidity for optimal results. The moisture in the air can affect how well solutions penetrate, while extremely dry conditions may cause adhesives to become brittle and harder to remove. For large jobs, work in sections no wider than 3 feet to maintain control over the process. Keep a bucket of clean water nearby to frequently rinse your tools, preventing glue buildup that can scratch walls.
To protect drywall from damage, always work with the grain of the paper and avoid excessive force when scraping. If dealing with multiple layers, remove them one at a time rather than trying to tackle everything simultaneously. For tricky corners, use a dental tool or small detailing scraper for precision work. Speed up the process by applying solutions with a paint roller instead of a spray bottle for more even coverage on large areas.
Conclusion
Wallpaper removal doesn’t have to be a frustrating chore when you apply these professional techniques. From identifying your wallpaper type to choosing the right removal method and properly preparing the surface afterward, each step contributes to a successful outcome. Remember that patience and the proper tools make all the difference between a botched job and professional-quality results.
Now that you’ve mastered these expert tricks, your walls are ready for their next transformation. Whether you’re planning to apply fresh wallpaper, create an accent wall, or simply enjoy a clean painted surface, these skills will serve you well in all your future home improvement projects. For best results, always allow adequate drying time between removal and new applications to ensure perfect adhesion and finish.


2 thoughts on “Expert Tricks for Professional Wallpaper Removal at Home”